How to Create DIY Wedding Timeline That Keeps Your Day Flowing Smoothly
- hollykuster

- Feb 9
- 4 min read
Planning a wedding is like orchestrating a beautiful symphony. Every moment needs to hit the right note, and timing is everything. When you’re crafting your own wedding timeline, it can feel a bit overwhelming. But don’t worry—I’m here to walk you through it with some practical tips, a sprinkle of humor, and a whole lot of heart. Whether you’re dreaming of an elegant, historic, or rustic celebration, nailing your timeline will help your day feel seamless and unforgettable.
Why You Should Create DIY Wedding Timeline
First off, why bother making your own timeline? Well, think of it as your wedding day’s GPS. Without it, you might find yourself lost in the chaos of getting ready, photos, and the ceremony. Creating your own timeline means you get to decide the pace and flow of your day. You can build in extra time for those unexpected moments (like a last-minute touch-up or a surprise dance move).
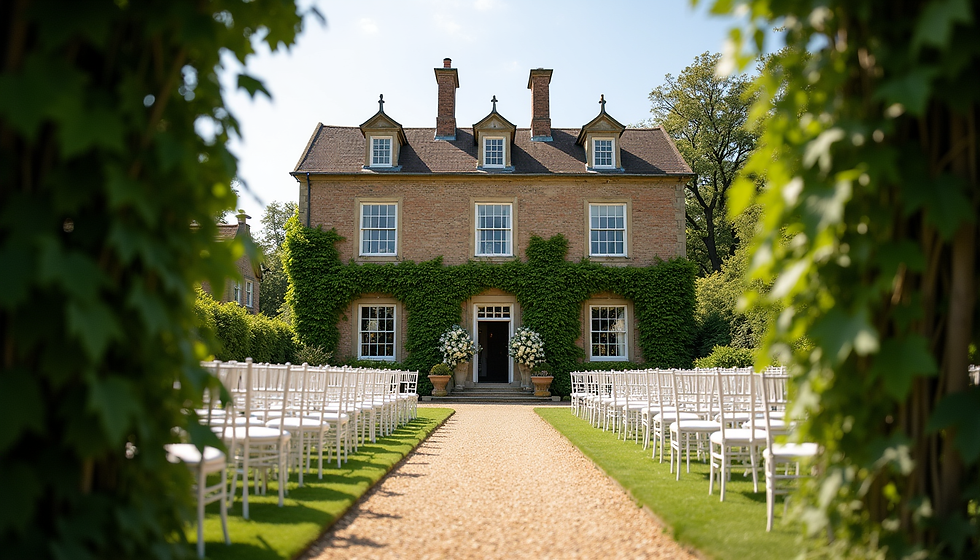
Plus, when you DIY your timeline, you’re in control. You can tailor it to fit your venue, your vendors, and your unique style. For example, if you’re having a historic venue like Rotherwood Events in Kentucky, you might want to include time to soak in the beautiful surroundings or capture some vintage-inspired photos.
Here’s a quick tip: start by listing all the key events you want to happen on your wedding day. Then, estimate how long each will take. This simple step lays the foundation for a smooth timeline.
Step-by-Step Guide to Create DIY Wedding Timeline
Alright, let’s get into the nitty-gritty. Here’s a straightforward way to build your timeline from scratch:
1. Start with the Ceremony Time
Your ceremony is the heart of the day, so lock in that time first. Work backward from there to schedule everything else. If your ceremony starts at 4 PM, you’ll want to plan when guests arrive, when the bridal party gets ready, and when photos happen.
2. Factor in Getting Ready
This part often takes longer than you think. Hair, makeup, dressing up—it’s a process. Give yourself at least 2-3 hours here, especially if you have a big bridal party. Don’t forget to include some buffer time for last-minute emergencies (like a stubborn earring or a missing boutonniere).
3. Schedule Photos
Photos are a big chunk of the day. Decide if you want to do a “first look” before the ceremony or wait until after. First looks can save time and calm nerves, but some couples prefer the traditional reveal. Either way, block out enough time for family, bridal party, and couple portraits.
4. Plan the Reception Flow
Once the ceremony wraps, it’s time to celebrate! Your timeline should include:
Cocktail hour
Grand entrance
Dinner
Toasts and speeches
Cake cutting
Dancing and entertainment
Each of these deserves its own slot. For example, cocktail hour usually lasts about an hour, while dinner might take 1.5 to 2 hours depending on your menu.
5. Build in Breaks and Buffer Time
Trust me, things rarely go exactly as planned. Adding 10-15 minute buffers between major events can save you from feeling rushed or stressed. It also gives your vendors some wiggle room.
6. Share Your Timeline
Once your timeline is set, share it with your vendors, bridal party, and anyone else involved. This keeps everyone on the same page and helps your day run like clockwork.

Tips for Keeping Your Timeline Realistic and Fun
Creating a timeline isn’t just about scheduling—it’s about making sure your day feels joyful and relaxed. Here are some tips to keep in mind:
Be honest about how long things take. If you know your family loves to chat during photos, add extra time.
Don’t overpack your day. It’s tempting to fit in every little detail, but too much can feel exhausting.
Include moments to breathe. A few minutes to sip water, take a deep breath, or share a quiet moment with your partner can make a big difference.
Think about your guests. Make sure there’s enough time for mingling and enjoying the celebration.
Use simple language in your timeline. Avoid jargon so everyone understands the plan.
How to Adjust Your Timeline for Different Wedding Styles
Whether you’re going for elegant, historic, or rustic vibes, your timeline should reflect that. Here’s how to tweak it:
Elegant Weddings: These often have formal dinners and multiple speeches. Plan for a longer dinner and more structured events.
Historic Venues: If your venue has unique features or restrictions, like limited daylight or noise curfews, factor those in. You might want to schedule photos during golden hour to capture that historic charm.
Rustic Weddings: These tend to be more laid-back. You can afford a looser timeline with more casual mingling and outdoor activities.
Remember, your timeline is your day’s blueprint. It should feel like you and fit your vision perfectly.

Wrapping It Up: Your DIY Wedding Timeline Is Your Best Friend
At the end of the day, your wedding timeline is your secret weapon for a stress-free celebration. It keeps everyone on track and lets you enjoy every moment without worrying about what’s next.
So grab a cup of coffee, your favorite pen, and start sketching out your timeline. Trust me, when your big day arrives, you’ll be so glad you did. Here’s to a beautiful, personalized wedding day that feels truly special and unforgettable!


Comments