Crafting Your Perfect DIY Wedding Timeline: Personalized Wedding Schedule Tips
- hollykuster

- Jan 13
- 4 min read
Planning a wedding is like orchestrating a beautiful symphony. Every note, every pause, every crescendo matters. When you’re going the DIY route, creating a personalized wedding schedule can feel a bit overwhelming. But trust me, with the right approach, it’s totally doable—and even fun! I’ve been there, and I’m here to share some warm, practical advice to help you craft a timeline that fits your style, your venue, and your vibe perfectly.
Why a Personalized Wedding Schedule Tips Matter
You might be thinking, “Why can’t I just follow a generic wedding timeline template?” Well, you could, but your wedding day is unique. The venue, the weather, the number of guests, and your personal preferences all play a huge role in how your day flows. A personalized wedding schedule helps you:
Avoid feeling rushed or stressed
Ensure every important moment gets its spotlight
Keep vendors and guests on the same page
Make room for unexpected moments (because those happen!)
For example, if you’re planning a rustic wedding at a historic barn in Kentucky, you might want to build in extra time for outdoor photos or a sunset toast. Or if your ceremony is in the late afternoon, your timeline will look very different from a morning wedding.
How to Start Building Your Wedding Timeline
Starting from scratch can be intimidating, so here’s a simple way to break it down:
List the Must-Have Moments
Write down everything you want to happen on your wedding day. Ceremony, cocktail hour, first dance, cake cutting, speeches—whatever’s important to you.
Estimate How Long Each Event Takes
Be realistic. For example, a ceremony might be 20-30 minutes, but photos can easily take an hour or more, especially if you want shots with family and friends.
Consider Travel and Setup Times
If your ceremony and reception are at different locations, factor in travel time. Also, think about how long vendors need to set up or break down.
Add Buffer Time
Life happens. Add 15-30 minutes of wiggle room between events to keep things smooth.
Draft Your Timeline
Put it all together in chronological order. Don’t forget to share it with your vendors and wedding party.
Here’s a quick example for a rustic afternoon wedding:
2:00 PM - Guests arrive
2:30 PM - Ceremony starts
3:00 PM - Ceremony ends, cocktail hour begins
4:00 PM - Couple’s photos
5:00 PM - Reception starts, dinner served
6:30 PM - Speeches and toasts
7:00 PM - First dance and dancing
9:00 PM - Cake cutting
10:00 PM - Send-off
Tips for a Smooth and Stress-Free Day
Now that you have a rough timeline, here are some personalized wedding schedule tips to keep things running like clockwork:
Assign a Point Person
Whether it’s a trusted friend, family member, or a day-of coordinator, having someone who knows the timeline inside and out is a lifesaver.
Communicate Clearly
Share the timeline with everyone involved—vendors, bridal party, family. The more people know, the fewer surprises.
Keep It Flexible
Sometimes, things don’t go as planned. Maybe the ceremony runs a bit long or the weather changes. Having a flexible mindset helps you enjoy the day without stress.
Use Visual Aids
Create a simple, easy-to-read timeline sheet or even a fun infographic. It helps everyone stay on track and adds a personal touch.
Plan for Breaks
Don’t forget to schedule small breaks for yourselves. A few minutes to breathe, hydrate, and soak it all in can make a big difference.

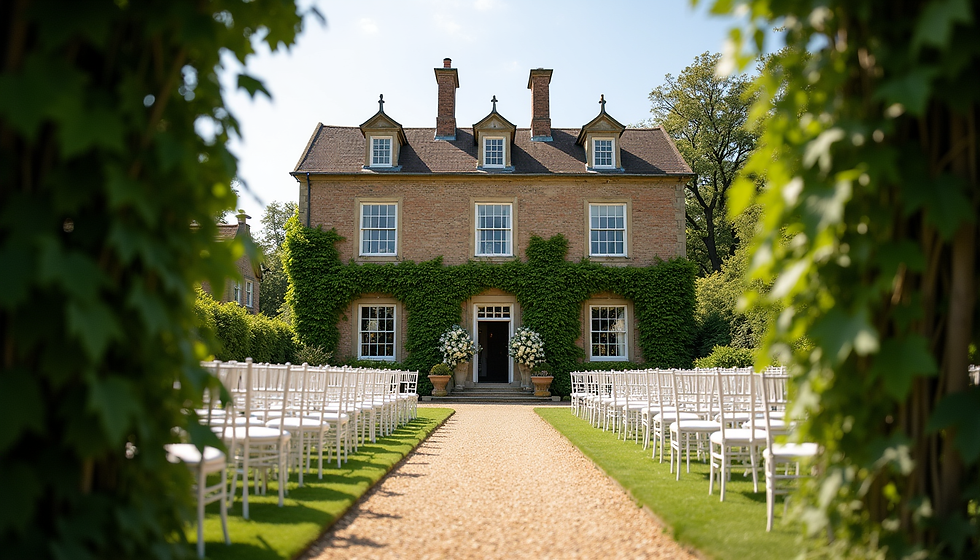
Incorporating Your Venue and Style into the Timeline
Your venue and wedding style should influence your timeline. For example, if you’re at a historic mansion or a charming Kentucky barn, you might want to highlight certain features or traditions.
Historic Venues
These often have beautiful gardens or unique rooms perfect for photos. Schedule time to explore and capture these spots. Also, check if there are any venue restrictions on timing or noise.
Rustic Weddings
Outdoor ceremonies and receptions are common here. Factor in natural light for photos and consider a backup plan for weather. Sunset photos can be magical, so plan your ceremony accordingly.
Elegant Weddings
These might have more formal elements like a seated dinner or a grand entrance. Make sure your timeline allows for smooth transitions between these moments.
Remember, your timeline should feel like you. If you want a relaxed vibe with plenty of mingling, don’t cram every minute. If you prefer a structured day, that’s great too!
Using a wedding diy timeline to Stay Organized
One of the best tools I found when planning my own wedding was a detailed wedding diy timeline. It helped me visualize the day and keep track of every detail. These timelines often come with helpful checklists and reminders, so you don’t miss a beat.
Here’s what to look for in a good DIY timeline:
Customizable Sections
You want to tailor it to your specific events and timing.
Vendor Coordination
Sections for vendor arrival and setup times keep everyone aligned.
Guest Flow
Helps you plan when guests arrive, move between spaces, and leave.
Emergency Contacts
A handy place to list important phone numbers.
Using a tool like this can save you hours of stress and last-minute scrambling.

Final Thoughts on Crafting Your Perfect Wedding Day
At the end of the day, your wedding timeline is your roadmap to a celebration that feels just right. It’s about balancing the big moments with the little ones, making sure you have time to breathe and enjoy, and keeping everyone on the same page.
If you’re planning an elegant, historic, or rustic wedding in Kentucky or beyond, remember that your timeline should reflect your unique story. Don’t be afraid to tweak it, add personal touches, and make it your own.
And hey, if you ever feel stuck, just take a deep breath, grab a cup of coffee, and start with the basics. You’ve got this!
Happy planning!


Comments